Before starting
From your administrator space, you can create a photo gallery page to publish recent photos of your organization on your website and share them on your social media in just a few clicks.
In this article we will explain how to:
Create a Photo Gallery page
Photo Gallery pages allow you to publish your organization's photos quickly and have them all in the same place on your website.
To create a Photo Gallery page:
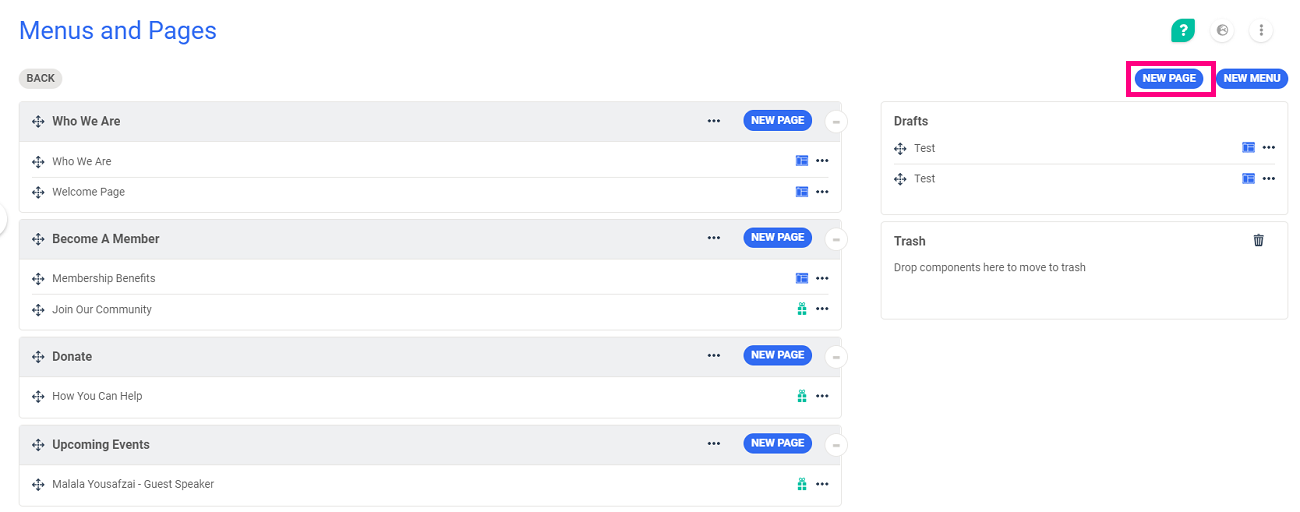
Go to Website > Main Settings > Menus and Pages
Click on New page
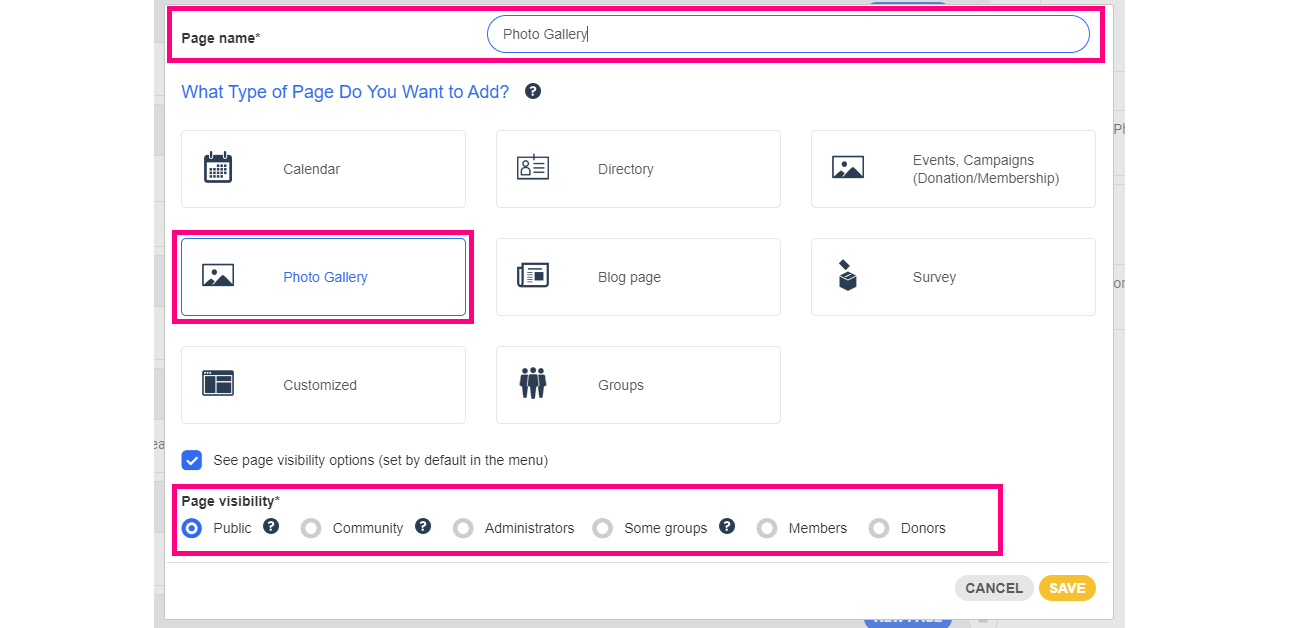
Choose the following elements:
- The name of your new page
- The type of the page, specifically: Photo Gallery
- The visibility of the page (more info here)
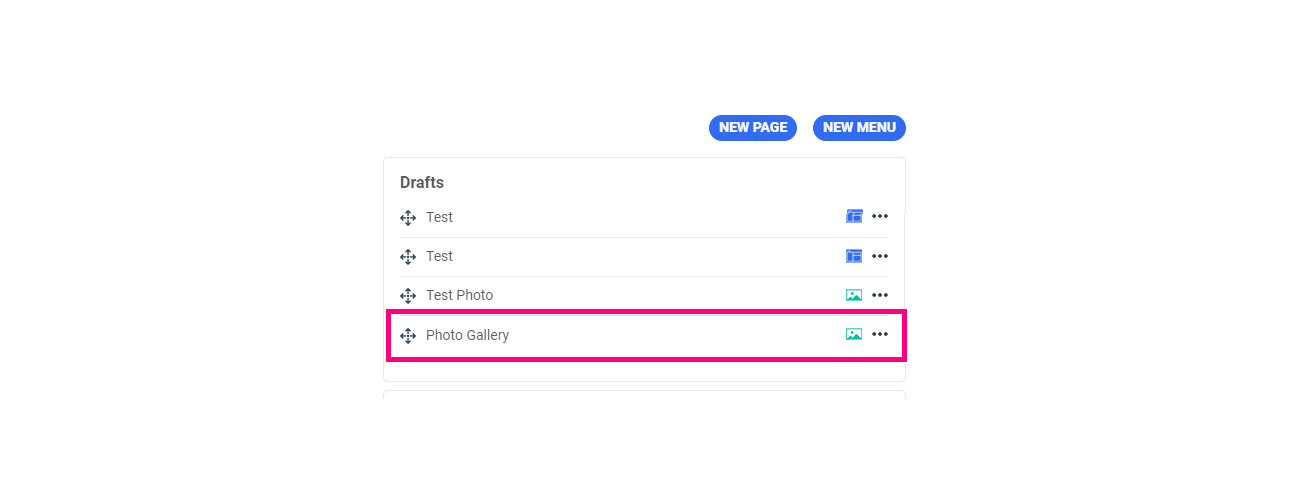
Click save. Your page will now appear in your drafts. In this section you will find all of the pages waiting to be published:
Edit your photo album
Once your page is created, you can start to edit your photo gallery. We explain how to proceed to create your photo album in this article.
Then you can place this page on your website by bringing it under the menu of your choice. To do this, click ![]() and drag the page under the menu that you want it to appear under on your website.
and drag the page under the menu that you want it to appear under on your website.
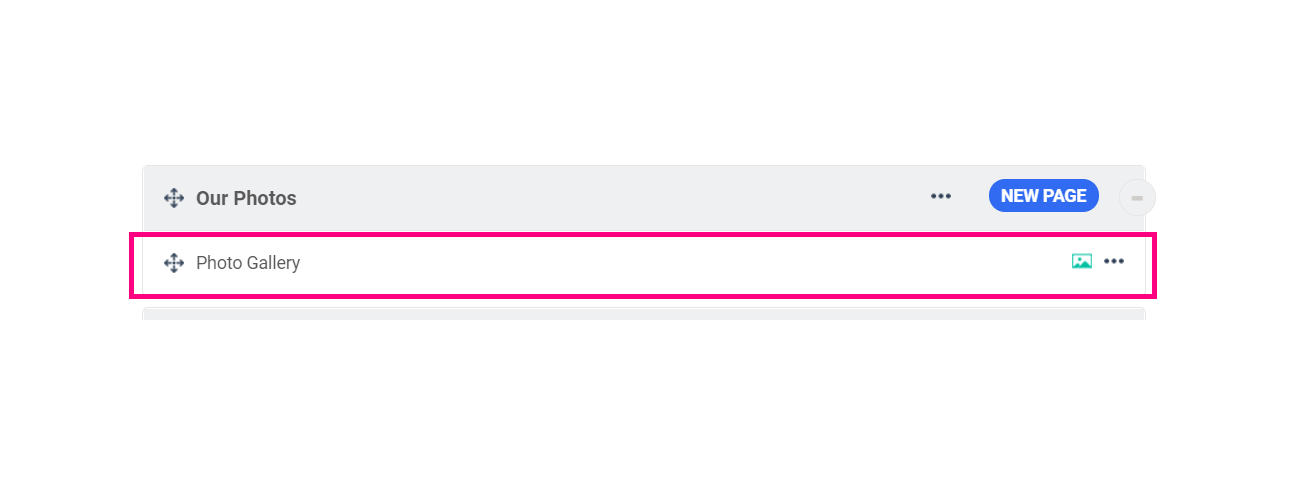
Your Photo Gallery page will now be published on your website!
To go further
We invite you to look at the following articles to learn more about this topic:
Comments
0 comments
Article is closed for comments.