Springly includes a tagging system for your blog articles to help you organize content and make it easier to search. This article explains how to enable and use tags.
Enable tags on your articles
You can enable tags from the Website > Smart Pages > Blog Pages section, under the Settings tab.
On that page, toggle the tag system option to ON.
Make sure to click Save once you've made your changes.
How tags work
Once enabled, tags let your readers do contextual searches across your content. For example, you might create 3 tags based on your activities (e.g., Social, Organization News, New Features).
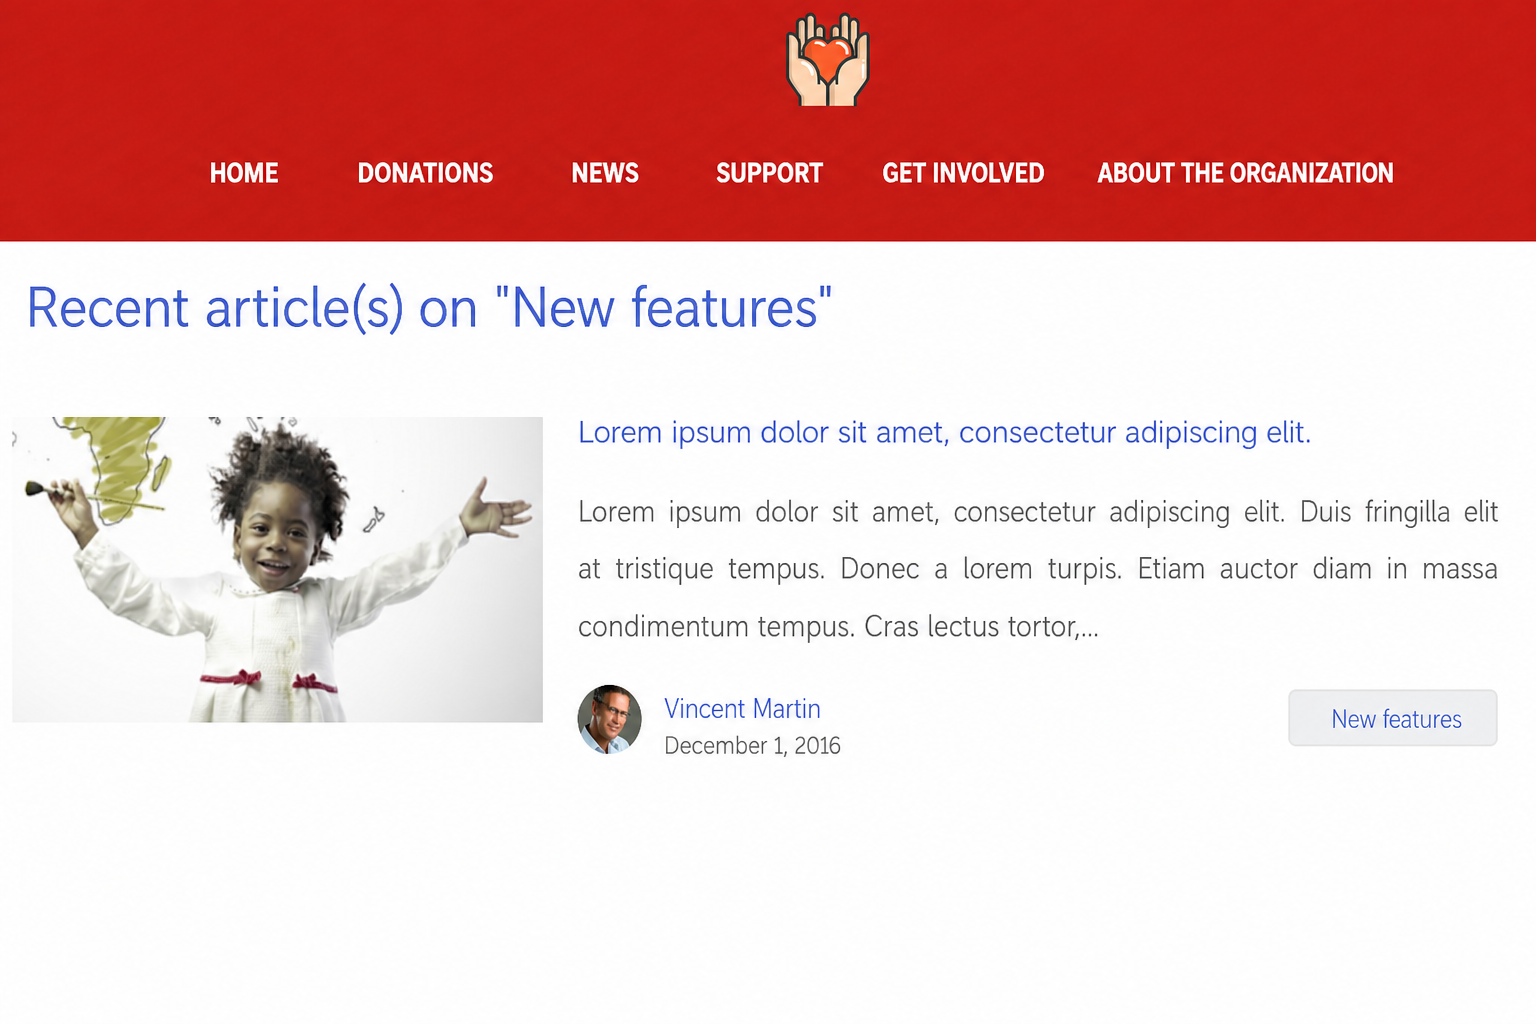
At the bottom of each article, readers can click on a tag (in this example: New Features) to view all articles with that tag.
After clicking, the reader is taken to a page listing all articles associated with that tag. From there, they can browse related articles and see all available tags.
 Manage your tags
Create a new tag
You create new tags directly when writing or editing an article, from the Website > Blog Pages section, under the Articles tab. Open an article's editing page either by creating a new article or by hovering over an existing one and clicking Manage.
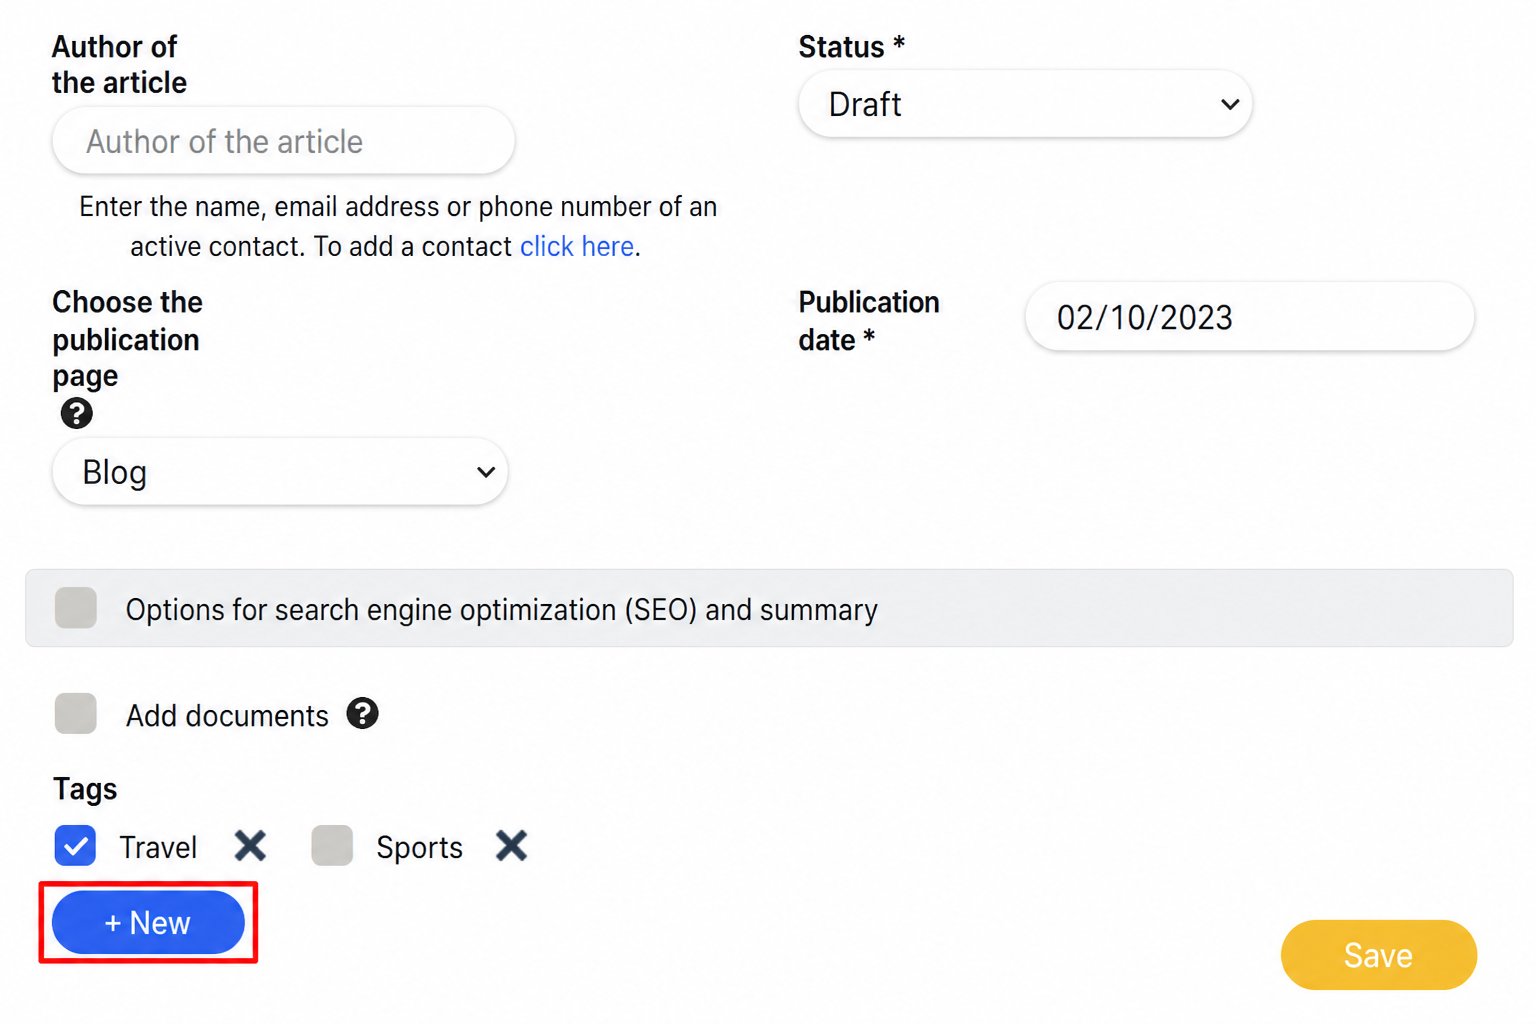
On the article editing page, scroll down to the Tags section and click + New to create a new tag. Once created, it will be available across all your articles.
You can select which tags apply to each article by checking them in the Tags section.
 Delete tags
On the article creation or editing page, go to the Tags section and click the X next to a tag to delete it.
Deleting a tag removes it from all your articles.
Learn more:
Check out the following articles to go further:
Comments
0 comments
Article is closed for comments.